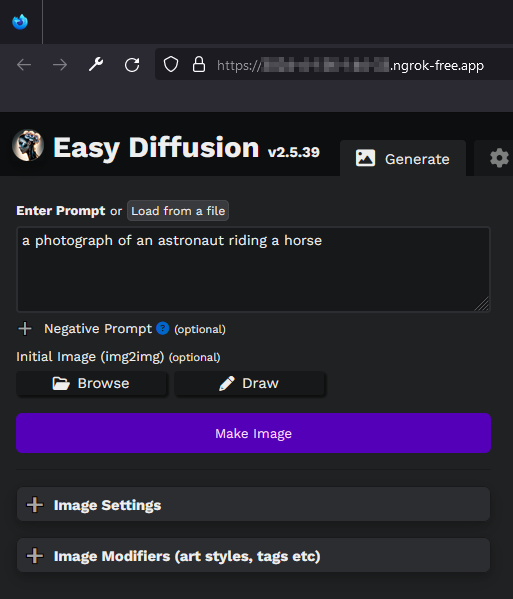
In my last post, Diffusing Diffusion, I explored AI-generated images on a local machine with Easy Diffusion (ED). Then I got AUTOMATIC1111's Stable Diffusion WebUI (SD-WebUI) accessible from a Microsoft Azure ML Compute instance, thanks to Vlad Iliescu's blog. However, I have an improvement to make...
The UI isn't quite as friendly (or powerful) as that by Easy Diffusion, but perhaps they can be swapped...?
So, what would it take to run Easy Diffusion in the cloud? SD-WebUI is served through Gradio, which has a built-in option for sharing a public URL. ED uses FastAPI and the Uvicorn ASGI server which are lacking such a feature. Enter ngrok, which seamlessly handles the port forwarding & security.
Let's get started with a new ML Compute instance by first creating a new compute.yaml file to describe it. The following will create a compute instance using a Standard_NC6s_v3 GPU, which shuts downs after 30 minutes of inactivity & at 11 PM each night.
$schema: https://azuremlschemas.azureedge.net/latest/computeInstance.schema.json

type: computeinstance

size: Standard_NC6s_v3
idle_time_before_shutdown: "PT30M"

schedules:
   compute_start_stop:
      - action: stop
        trigger:
         type: cron
         start_time: "2023-06-12T12:00:00"
         time_zone: UTC
         expression: 0 23 * * *
Execute the following to create the compute instance...
$resourceGroup = "<RESOURCE_GROUP_NAME>"
$workspace = "<WORKSPACE_NAME>"
$compute = "<COMPUTE_INSTANCE_NAME>"
az ml compute create -f compute.yml -n $compute -w $workspace -g $resourceGroup
This process takes several minutes, and the status can be checked from Azure Machine Learning Studio or via the following command.
az ml compute show -n $compute -w $workspace -g $resourceGroup
Easy Diffusion has a very simple setup but will require some tweaks in the cloud environment. The main issue is with conda, which is installed to the local setup files but, due to file system restrictions will encounter the error: "cannot copy symlink." The good news is we don't actually need this conda.sh file! First, check if conda is installed conda --version. If not already, download via the Anaconda or Miniconda installer, rather than through pip -- that version is corrupt as a standalone application (ref).
The faulty conda installation must first be ignored by commenting a line of the bootstrap.sh file. After the initial setup is complete, the installation can be ignored for subsequent startups by creating a dummy conda.sh file -- this file's existence is checked to determine whether or not conda should be installed, and is (seemingly) only used by the ED developer console.
From a terminal, in the user home directory...
# Download a release from Github
curl https://github.com/easydiffusion/easydiffusion/releases/download/v2.5.24/Easy-Diffusion-Linux.zip --location --output Easy-Diffusion_v2.5.24.zip
unzip Easy-Diffusion_v2.5.24.zip
cd easy-diffusion/
# Disable internal conda installation
nano ./scripts/bootstrap.sh
# comment out line 49, which adds 'conda python-3.8.5' to the packages for installation
# Install Easy Diffusion (by starting it)
./start.sh
# then stop (with CTRL+C), to finish setup
# In lieu of actually fixing the problem...
mkdir -p installer_files/env/etc/profile.d/
touch installer_files/env/etc/profile.d/conda.sh
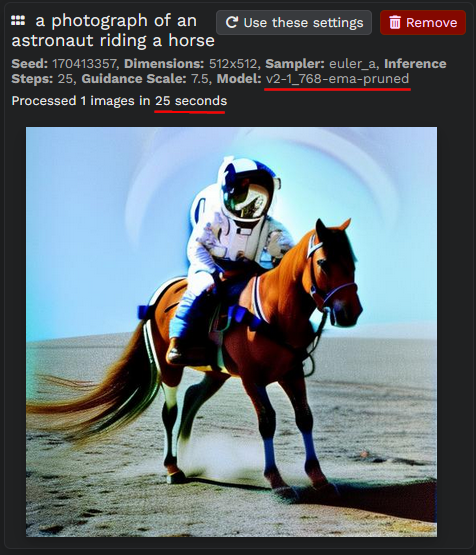
# Download more models, especially the latest version of stable-diffusion
cd models/stable-diffusion/
curl -H "Authorization: Bearer <your-huggingface-token>" https://huggingface.co/stabilityai/stable-diffusion-2-1/resolve/main/v2-1_768-ema-pruned.safetensors --location --output v2-1_768-ema-pruned.safetensors
curl https://raw.githubusercontent.com/Stability-AI/stablediffusion/main/configs/stable-diffusion/v2-inference-v.yaml --output v2-1_768-ema-pruned.yaml
# Navigate back to user home
cd ../../../
Now to safely expose the website. While I'm using basic authentication for this example, ngrok supports more advanced options. Starting from a terminal in the user home directory...
# Download, make executable, & setup config
curl https://bin.equinox.io/c/bNyj1mQVY4c/ngrok-v3-stable-linux-amd64.tgz --location --output ngrok-v3-stable-linux-amd64.tgz
tar -xf ngrok-v3-stable-linux-amd64.tgz
chmod +x ngrok
./ngrok config add-authtoken <YOUR_AUTH_TOKEN>
At this point, we're ready to roll. Open two terminals in the user home directory, and run the following commands:
# Start ngrok with port used by Easy Diffusion & basic authentication
./ngrok http 9000 --basic-auth="USERNAME:PASSWORD"

# Start Easy Diffusion
cd easy-diffusion/
./start.sh
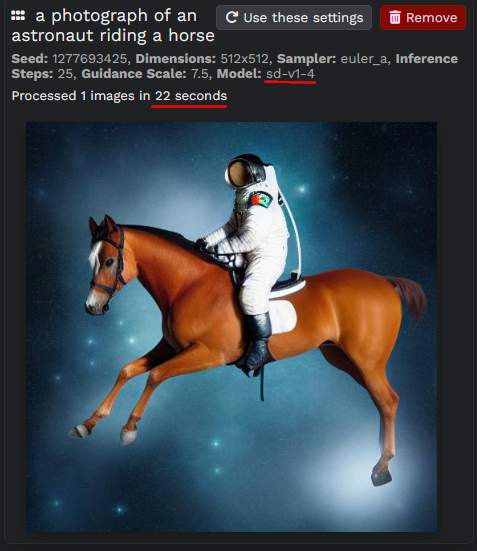
Just access the URL provided by ngrok, and profit 🤑
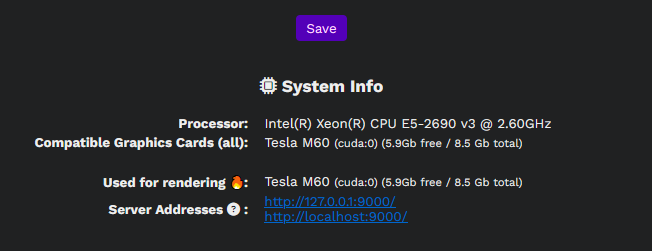
I now have a dedicated GPU with 8.5 GB of RAM & the Easy Diffusion UI available from my phone 😎
And it's so much faster than my personal NVidia GTX 1050 Ti...